Building a Multilingual Static Site with Next.js 14
TL;DR: Learn how to build a multilingual static site using Next.js 14, where all translations are preloaded, eliminating the need for runtime data fetching. This approach ensures instant page loads and seamless language switching, enhancing both user experience and SEO. For a deep dive into the implementation, check out the GitHub repository at https://github.com/pkellner/simple-i18n-nextjs-static-preload.

The Foundation: Static Generation with Next.js
Next.js, known for its flexibility in rendering methods, including Static Generation, one of its core features, pre-renders pages at build time. This results in fast-loading web pages that can be easily cached and served by CDNs. For a multilingual site, preloading translations ensures that the user doesn’t have to wait for content to load when switching languages.
Step 1: Setting Up Your Next.js Project
Begin by creating a new Next.js project if you haven’t already:
npx create-next-app@latest your-project-name
cd your-project-name
Step 2: Preloading Translations with getStaticProps
In Next.js, getStaticProps is a function you can export from a page component to specify which data should be preloaded when the page is statically generated. For a multilingual site, we’ll use this function to preload our translations:
export async function getStaticProps() {
  const translations = {
  en: {
    greeting: "Hello",
    content: "This is a simple content page supporting English and Spanish.",
    switch: "Switch to Spanish",
  },
  es: {
    greeting: "Hola",
    content: "Esta es una página de contenido simple que admite inglés y español.",
    switch: "Cambiar a inglés",
  },
};
  return {
    props: {
      allTranslations: translations, // Pass all translations to the page
    },
  };
}
By doing this, we ensure that all translations are available at build time and can be instantly accessed when rendering the page, eliminating the need for any client-side data fetching.
Step 3: Implementing Language Switching
Next, let’s implement the core functionality of our multilingual site: the ability to switch languages. We use React’s useState hook to keep track of the current locale:
// locale comes from Next.js in receiving props
const [language, setLanguage] = useState<string>(locale);
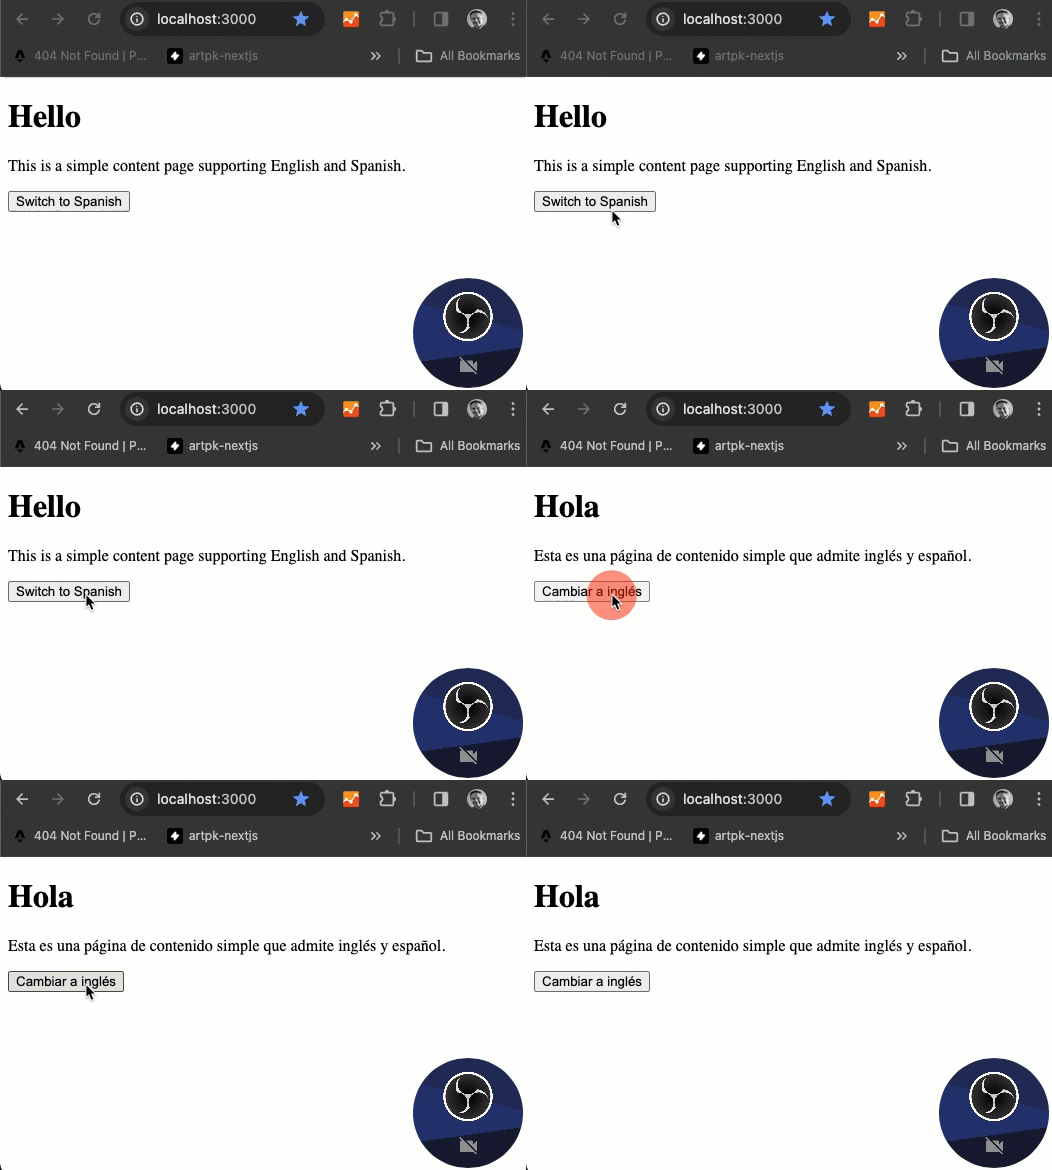
Then, we provide a button that toggles the locale state between English (en) and Spanish (es), which in turn updates the displayed content:
const toggleLocale = () => {
  const newLocale = language === "en" ? "es" : "en";
  setLanguage(newLocale);
};

<button onClick={toggleLocale}>
  {locale === 'en' ? 'Switch to Spanish' : 'Cambiar a inglés'}
</button>
Step 4: Using navigator.language for Language Initialization
The navigator.language property in JavaScript represents the user’s preferred language, usually the language of the browser UI. This property is part of the Navigator interface, which can be accessed through the window.navigator object. It’s a read-only value that returns a string, such as “en-US” for American English or “es-ES” for Spanish (Spain).
In the context of a React application, particularly one that supports internationalization (i18n), navigator.language can be used to automatically select and display content in the user’s preferred language. This approach enhances user experience by providing content in a language that is likely familiar to the user without requiring manual selection.
useEffect(() => {
  const defaultBrowserLocale = navigator.language;
  setLanguage(defaultBrowserLocale);
  setShowResult(true);
},[])
Implementation in the Provided Code
In the provided React component, navigator.language is utilized within a useEffect hook to set the initial language state. This method ensures that as soon as the component mounts, it checks the browser’s preferred language and updates the state accordingly. Here’s a breakdown of how it’s implemented:
-
State Initialization with
locale: Thelanguagestate is initially set to the value oflocale, which is passed as a prop. Thislocaleprop is intended to come from the build system or server-side rendering context, providing a default language setting. -
Effect Hook to Set Language: Upon mounting, the
useEffecthook is triggered, which then accessesnavigator.language. This value is used to update thelanguagestate, effectively overriding the initiallocaleif the browser’s preferred language is different. -
Display and Switching Content: The component displays content based on the current
languagestate. It also provides a button to toggle between English and Spanish, demonstrating a simple language switch mechanism.
Usage and Benefits
Using navigator.language for initializing the language setting in a web application offers several benefits:
- User-Centric: Automatically selects a language based on the user’s browser settings, which is likely aligned with their preference.
- Seamless Experience: Reduces the need for manual language selection, providing a smoother and more intuitive user experience from the first visit.
- Flexibility: While the initial language is set based on the browser’s preference, users can still manually switch languages, offering flexibility and control.
This approach is particularly useful for applications targeting a global audience, where users come from diverse linguistic backgrounds. It ensures that users are greeted in a language they understand, making the application more accessible and user-friendly.
Step 5: Displaying Translated Content
Finally, we access and display the content based on the current locale. This is straightforward, as all translations are already loaded and simply need to be accessed based on the locale state:
const content = allTranslations[locale];

return (
  <div>
    <h1>{content.greeting}</h1>
    <p>{content.content}</p>
    <button onClick={toggleLocale}>{locale === 'en' ? 'Switch to Spanish' : 'Cambiar a inglés'}</button>
  </div>
);
Conclusion: The Advantages of Preloading Data
By preloading all necessary translations with getStaticProps, our Next.js site benefits from faster page loads and a smoother user experience. Users can switch languages without any perceptible delay, as all content is immediately available. This approach not only enhances performance but also SEO, as search engines can easily crawl and index the statically generated pages.
Building a multilingual site in Next.js 14 showcases the framework’s versatility and performance capabilities. Whether you’re targeting a small audience or aiming for global reach, Next.js provides the tools needed to create fast, user-friendly, and multilingual websites.
Additional Resources
For those interested in exploring the code and diving deeper into the implementation, the GitHub source for this project can be found at https://github.com/pkellner/simple-i18n-nextjs-static-preload. This repository is a valuable resource for developers looking to understand the practical aspects of building multilingual static sites with Next.js and React.